First off, This is meant to be a helpful tool. It's not the "only" way to do it nor Am I saying it the best way. It's just the way I did. I'm always open for suggestions
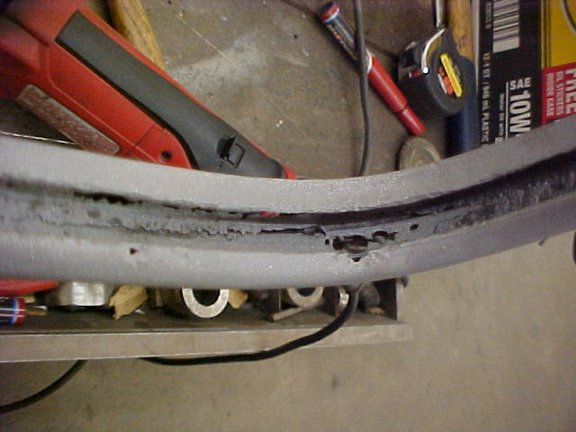
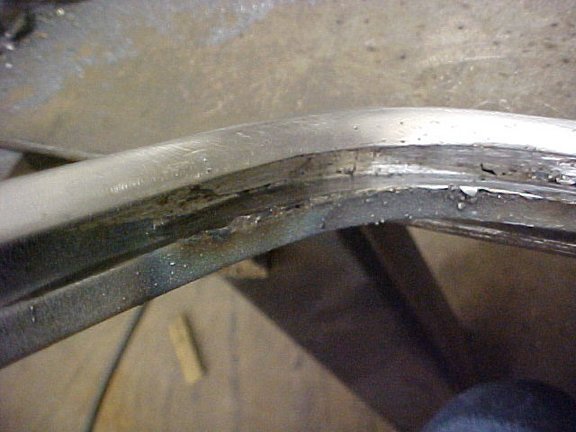
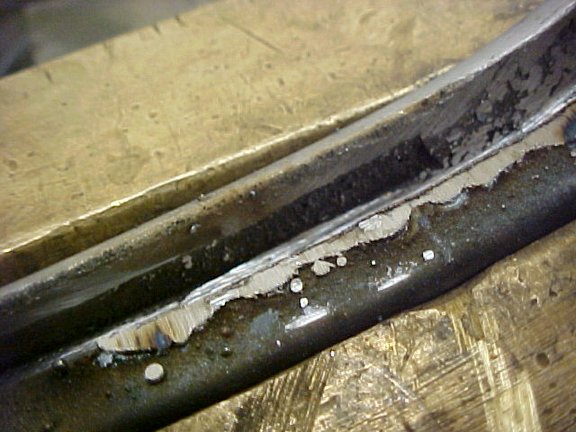
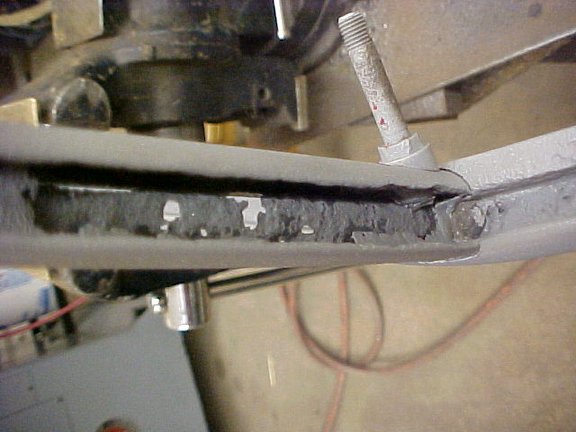
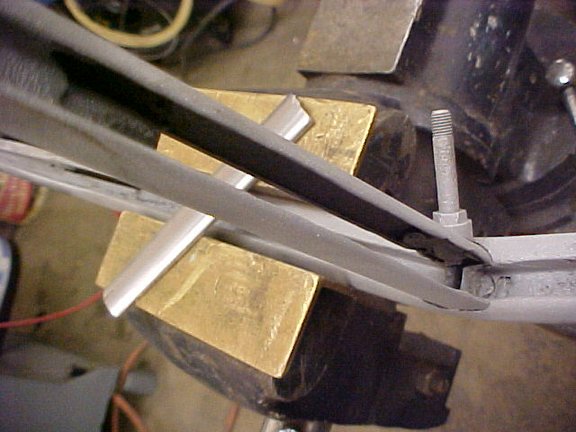
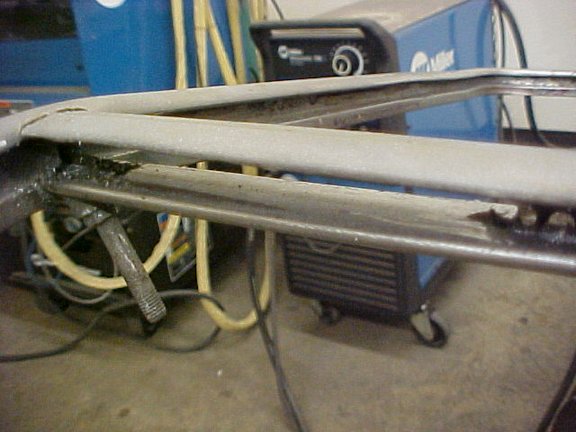
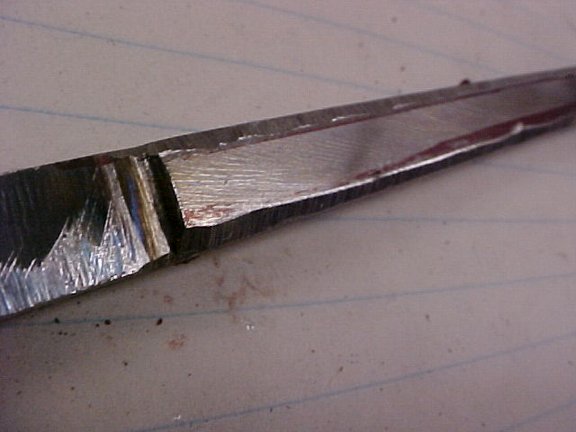
What I started with. Bottom corner of lower windshield frame
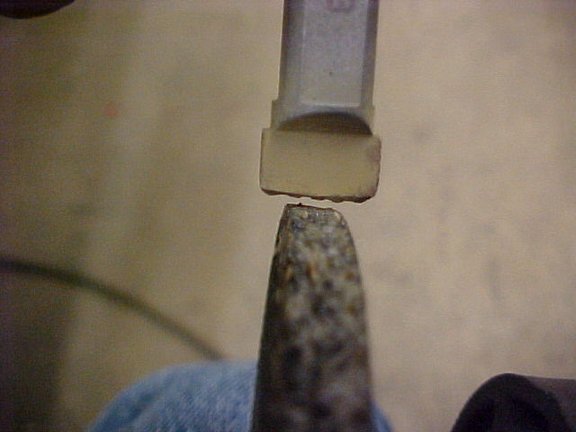
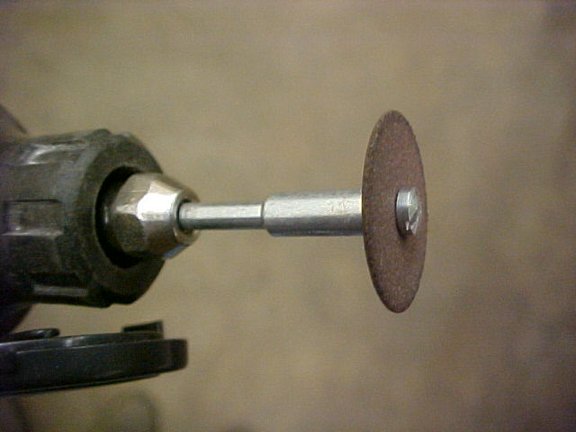
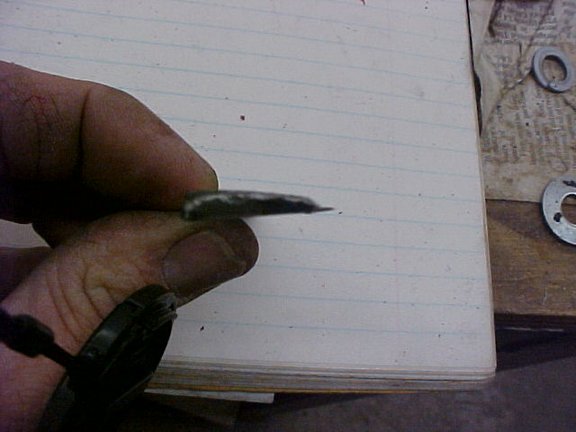
Dressing the wheel
A 4 inch angle grinder is needed as the radius in the corner of the frame is about the same and you can clean the corners nicely with it. I use a diamond to hand dress the corner on the wheel to keep it sharp. Also use it when cleaning the sides so it keeps cutting and not just burning, I keep one wheel for cornering and one for basic grinding, just switch them out. Yes, your gonna use some wheels doing this.
The other side
Same corner with one side fixed with next one ready. I decided to do the bottom first, then one side at a time. That way I can keep the lines straighter and have something to go by. I use a length of 3/8 key stock for a guide. The bottom seems to have swelled out where it drops in while the sides are tighter. I don't know what is up there.
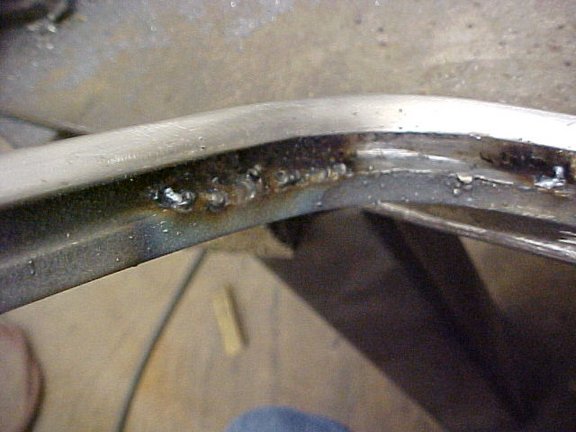
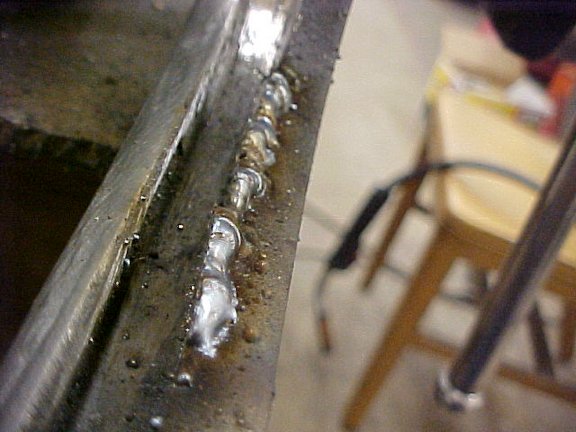
Welded up
Welding has to be done slowly. Basically just triggering the welder till it sparks, then letting off. Cool it off with a damp rag regularly or you'll warp the frame. I check the area with a straight edge BEFORE starting and make sure it stays the same. If it starts changing, go slower and cool it more.
Side ground back down
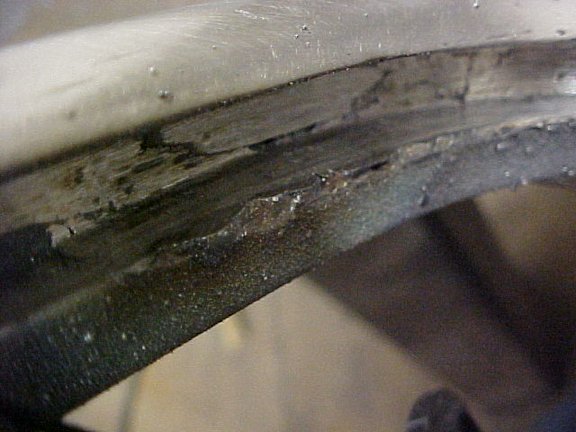
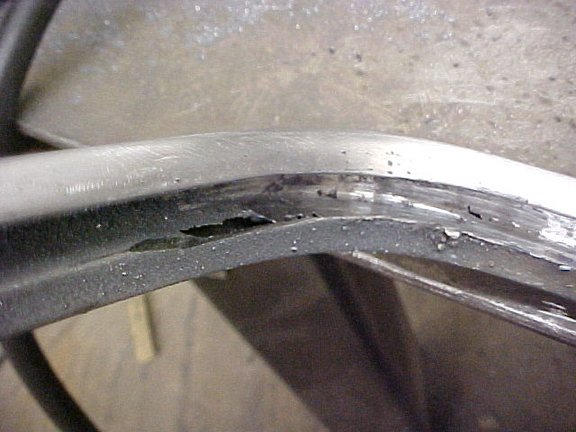
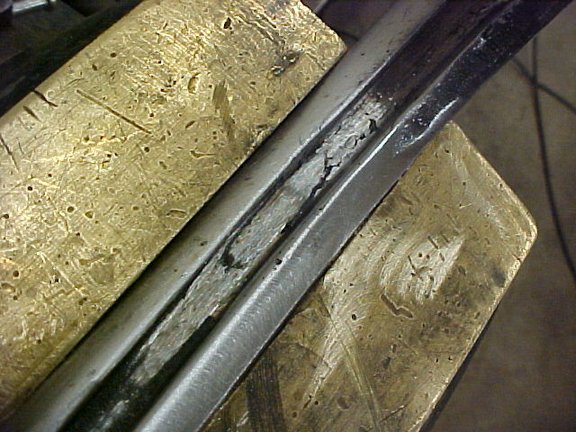
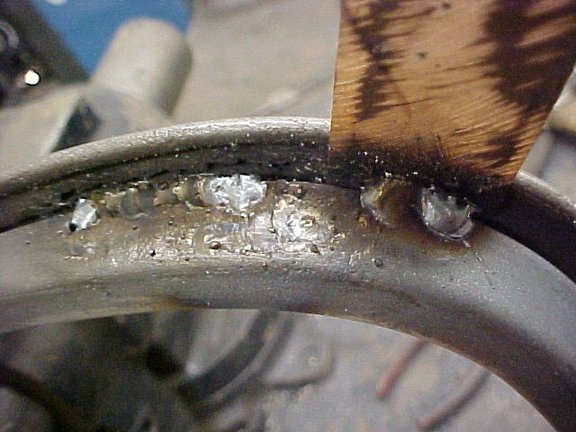
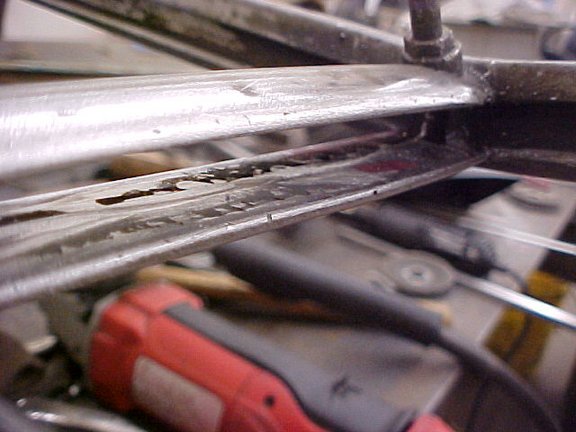
Here you can see the corner needs help
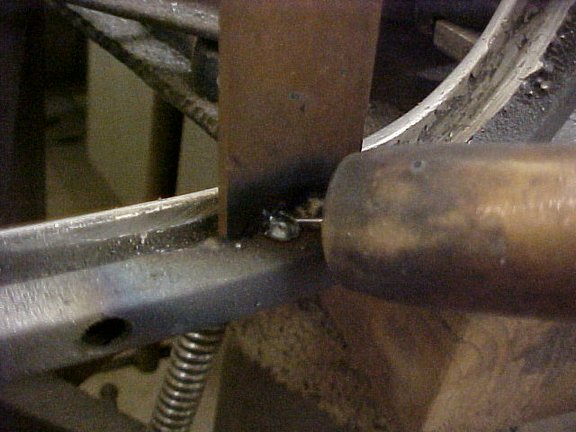
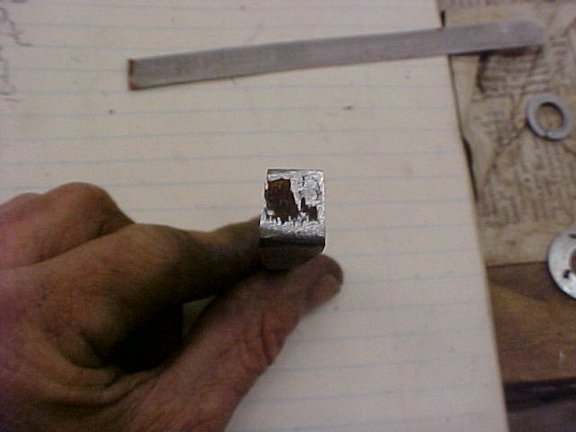
Copper as a welding aid
Use a thick piece of copper to weld onto and build it up. Saves a lot of grinding and sucks up the heat. Watch your fingers as it transfers quick!
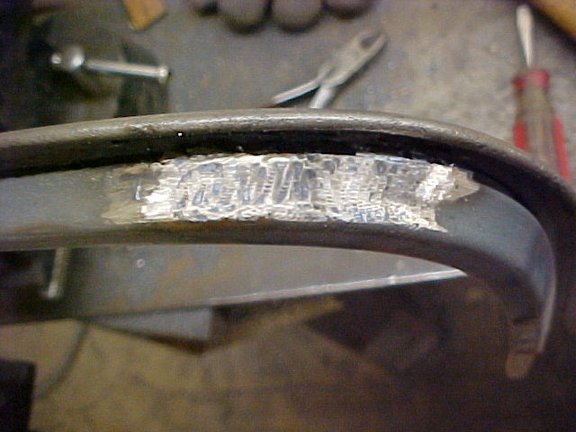
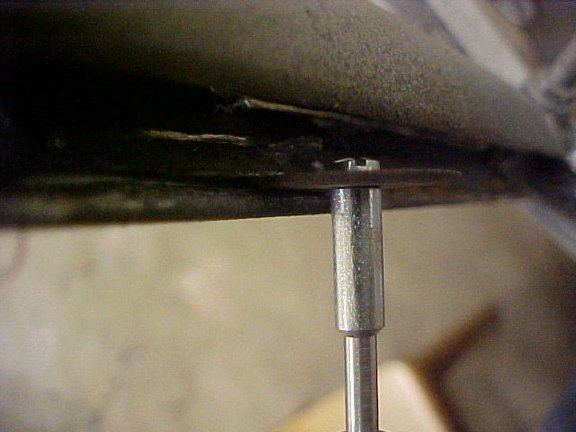
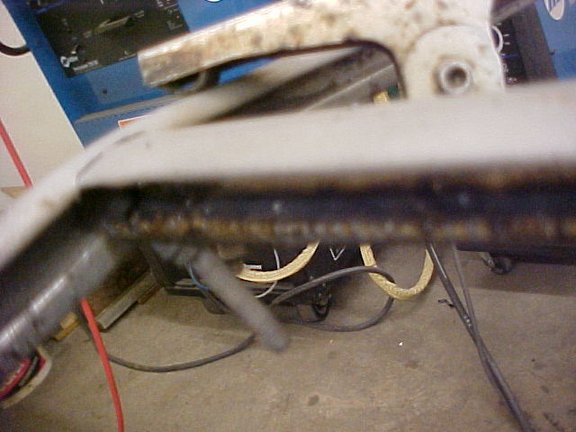
Here you can see the edge
Rough grind it down
Start filing it down
Here's the finished area
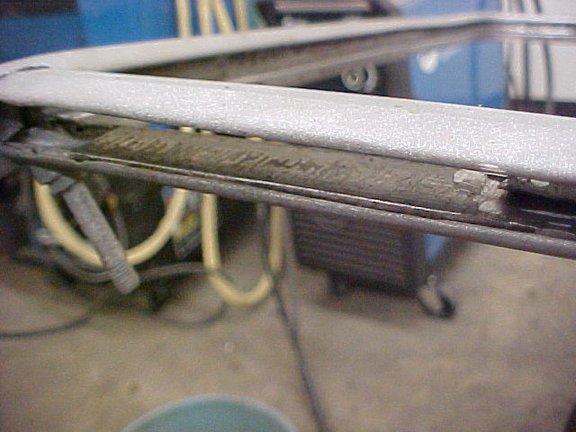
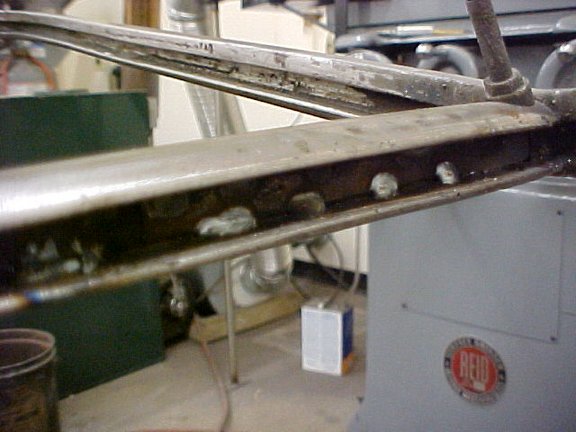
Frame Bottom
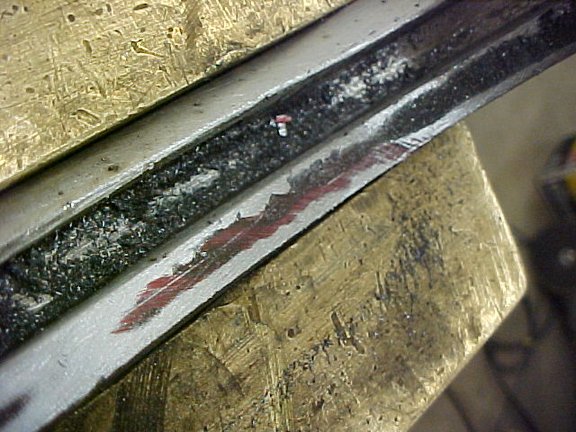
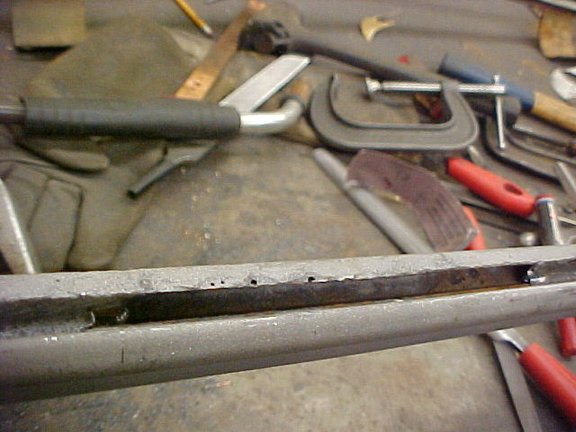
This is the bottom of the frame that is exposed by the seal. Notice the edge is rusted away in spots
After welding
It was actually more solid than expected and here it is all welded up
Ground to contour
This area is not flat, the rectangular shape has a bowl in the flat from factory bending so some careful angle grinding is needed to keep the bowl looking uniform
More hand filing
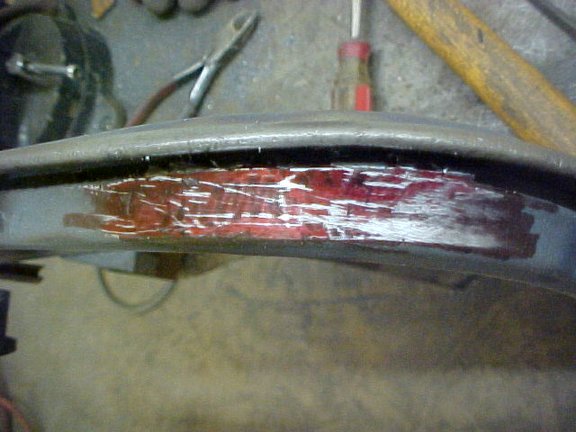
Next is hand filing again. When blending like this use a magic marker and red it up and start filing. You can then see the low spots that way and see what needs more attention. Start with a bastard half round and finish with a finer version.

Finished and note the edge is back to normal. This has no sanding yet, that is just filed.
I'm using a Miller 250X MIG welder. I have it set at 190 on wire speed and turned as low as possible on heat. Again, you have to go REAL slow. Basically hitting the trigger just enough to start an arc then quit. You have to allow the weld to cool. If you don't it will warp the whole frame out of shape. I keep checking with a straight edge and compare with other side. I'd suggest to do one side at a time so you have something to go by.
The last corner took only 45 minutes total. When doing 3 sides of the channel it takes a LOT longer.
In reality, as bad as mine is, the little channel that holds the seal in place is filled with metal in a few spots. You have to watch that when welding and try not to get it in there. I'll have to cut the seal keeper there but I'm sure it shouldn't be enough to cause a problem.

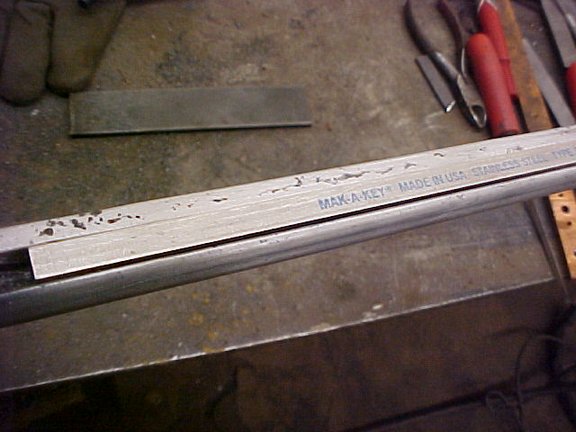
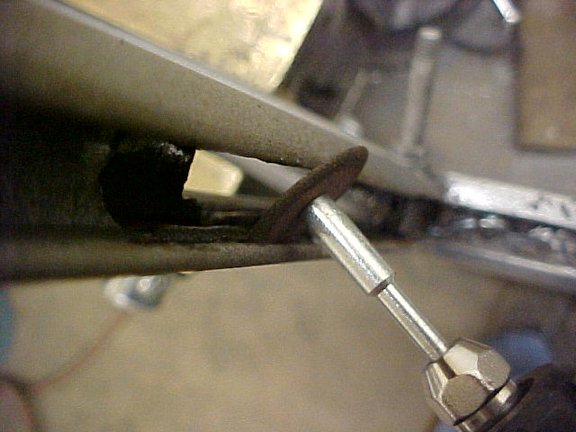
Here's the key stock so you can judge the depth and keep the straight lines.
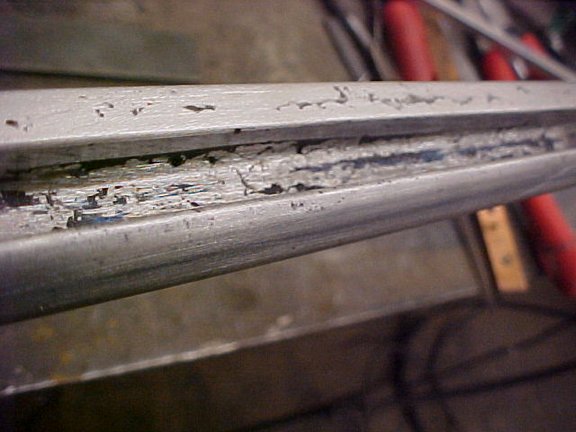
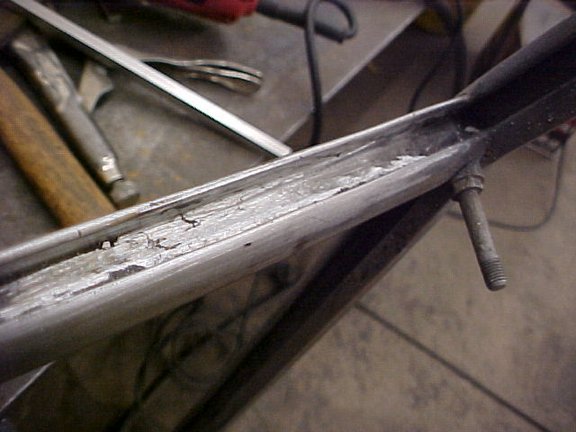
The side towards the cab was so bad I decided to just cut it out (what little was left!) and weld in new. Bottom was completely gone and wiggling the top most of it broke out from fatigue. Went over the underside edge with a file to smooth it out. There's a nice ledge on the bottom that the steel can sit against and just wedge it under the top.
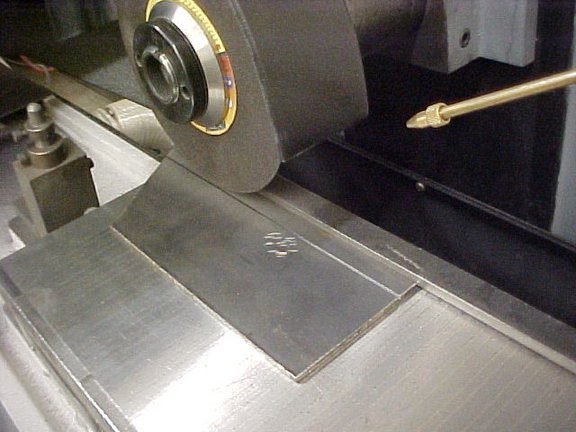
Needed to cut the strip .445 - .450 wide for a snug fit and I used 1/8" steel. Surface grinder with a cut off wheel is the cat's behind to do this. I find myself using it more and more as the cuts are perfect and hardly get hot. Cut halfway and flip over and you can make exact pieces all day long.
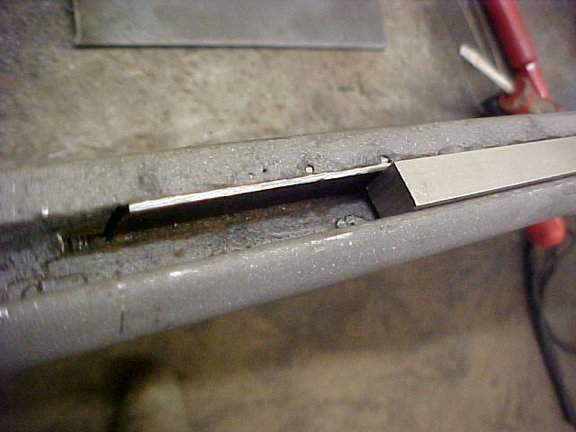
21 I used the key to get the space right and there is enough tension to hold it there by itself for tacking
Here it is finished and got the edges built up with steel again.
Got one half of the bottom done now and starting on the other side which is worse. One other hint is when filling the bottom slip your copper into the rubber seal groove. Keeps the weld from going in there and messing things up. You probably already thought of that, but it took dumb me a while to think about doing it!
Got the 2 sides done on the bottom and started on the center post. It was pretty bad
After looking at it I decided it would just be easier to cut out all the bad steel and start from scratch. Luckily the outside sides were still pretty much in tact so I had a plan. I figured cutting out the "lips" were the steel was rolled and laying in steel. One on the top curve, one on the bottom curve and then the center divider. To cut just behind the lip I used a Dremel grinder with a cutoff wheel. Handy little things but they get used up quick. Make a nice cut with no other damage to surrounding steel.
Center was ground out with a 4 inch angle grinder. Here is the section with all bad steel gone. I assume the section comes out but I see no reason to do so as it'll keep the size better. It would make it a little easier to do but I was afraid of screwing it up.
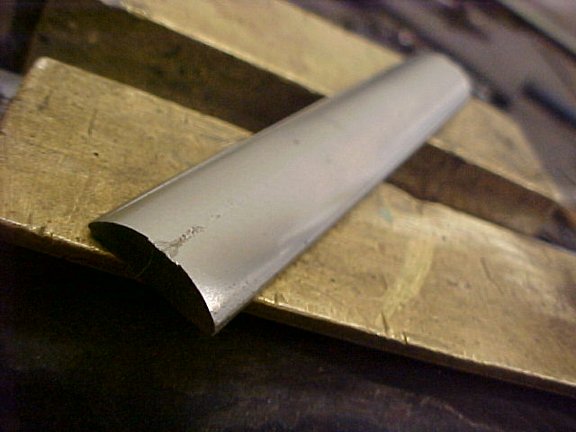
Got a piece of 1/4" steel and ground a .500 radius on it.
After some trimming on the ends for fit I laid it in and welded it
Welded the edges and ground everything flush and straight. Picture shows the restored edges.
Opposite side is smaller and used an 1/8" piece and just ground it out with an angle grinder. I left one half of this side alone so metal was a little over a 1/4 round piece
Welded in and ground
Center has angles on both sides so I used the surface grinder and cutoff wheel with a 3/8" plate on an angle.
Snag ground the edges away for welding metal strength
Tacked in place
Here is the rough finished channel. Big difference there! I used a Dremel grinder with a small wheel to clean up weld close to the corner. I DIDN'T weld too close, as I wouldn't be able to get that out. I think it is strong enough
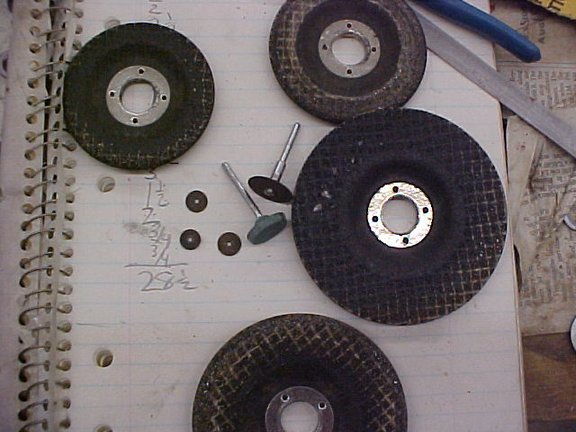
Here's the casualty list used in this. 28 1/2 hours +. I tried to remember to write it all down, but this was a bare minimum. 4 cutoff wheels, 4 partial 4 inch angle grinder wheels, and even though not shown, 3 little dremel wheels. Got to watch using those as the get hot and the bonding breaks free and throws them off. I forgot the second time!
Going to pour rusty metal primer in the channels holes and let it dry out. I'll then put it all back together and double check fit. Actually not as much time as I thought. just depressing that is all the time I've worked on the truck in this time span. Oh well. I'll get there, Kevin